Welcome to our first Tip Tuesday! Ok, maybe these posts will be a bit more than just a ‘tip’, but we’ll share some handy advice here every Tuesday related to knit or crochet – or in today’s case both!
Never miss a discount, freebie or surprise!
Have you ever finished a sweater or hat, only to find it’s a bit too snug or looser than expected? That’s where gauge comes in. Gauge is the magic formula for ensuring your knits and crochet projects turn out the size you want. But, it’s more than just a number on a pattern — measuring gauge accurately is a key skill every maker needs. Here’s how you can master it:
1. Start with a Swatch
We’ve all been tempted to skip this step, but creating a swatch is crucial. To get the most accurate gauge reading, knit or crochet a sample at least 4×4 inches (or larger, especially if the pattern calls for a more complex stitch like lace or cables). This gives you a good idea of how your yarn and needles/hook will behave. Also be sure to double check the needle size to be sure you’re working with the right one!
2. Block Before You Measure
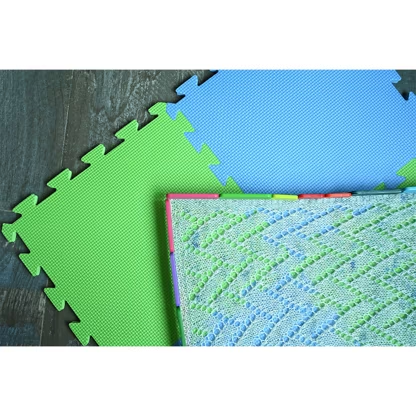
Gauge can change dramatically after blocking, especially with natural fibers like wool. Wet block your swatch (or steam block if the project calls for it) exactly how you’ll treat the final piece. Let it dry completely before measuring — you’d be surprised how much a little water can affect those stitches!
3. Measure Away from the Edges
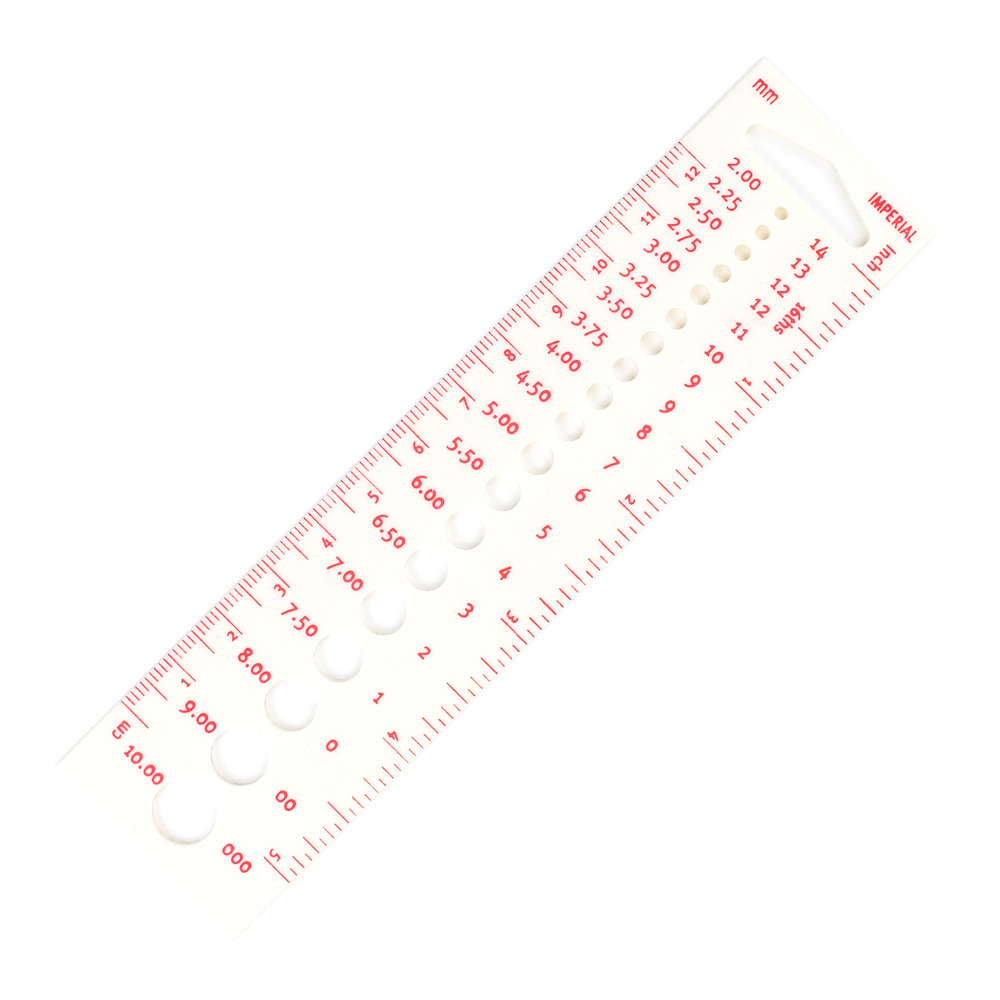
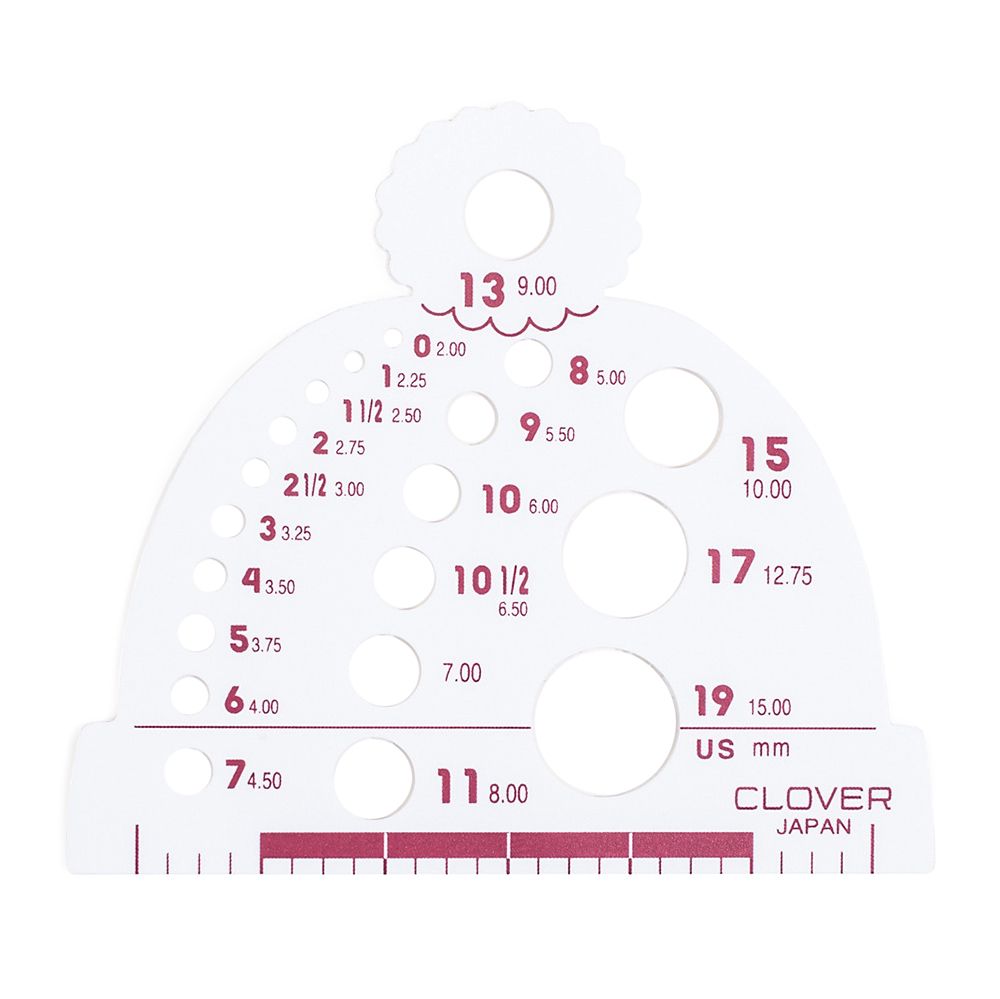
Once your swatch is dry, grab a ruler or a gauge tool. Lay your swatch flat without stretching or tugging on it. Place your ruler in the middle of the swatch, avoiding the edges, as they can be looser or tighter than the body. Measure over 4 inches, counting how many stitches fit within that space. Do the same for row count (some projects require precise row gauge, too).
4. What If Your Gauge Is Off?
Don’t panic! If you have too few stitches per inch, switch to a smaller needle or hook. If you have too many stitches, go up a size. Yarn type, tension, and even your mood can affect gauge, so don’t be afraid to try a few different sizes until you match the pattern’s recommendation.
5. Check Gauge in Pattern
While a plain stockinette or single crochet swatch is common, some patterns require you to check your gauge within a specific stitch pattern (like cables, lace, or colorwork). If the pattern specifies this, make sure your swatch reflects those stitches for the most accurate results.
6. Consistent Gauge = Consistent Fit
Measuring gauge may seem like an extra step, but it’s your insurance policy for projects that fit and drape as expected. Whether you’re making a cozy sweater or a delicate lace shawl, taking the time to nail your gauge is worth every minute.
Bonus Tip: Keep Your Swatches
Instead of tossing your swatches aside, keep them as future reference. They’re a great way to track how certain yarns behave with different hook or needle sizes and stitch patterns. You’ll thank yourself later when you’re deciding on materials for your next project.
By following these steps, you’ll avoid the frustration of a misfit project, and you’ll be on your way to more enjoyable making. Perfect gauge leads to perfect projects!
Leave a Reply